This tutorial will be dedicated to Catbyte aka Li Hui.
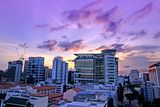
So here are the steps to give you a more dramatic image. I don't call this a photograph, it is more like a digital art.
Step 1:
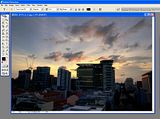
We start off with this under exposed image.
Step 2:
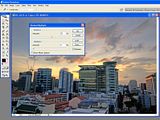
Go to image>adjustments> shadows and highlights and brighten up the dark areas.
Step 3:

Click on the gradient tool, ensure that it is linear and it is from foreground to transparent. Choose a colour, in this case, i choose pink.
Step 4:
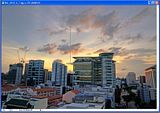
Drag a line from the top of the image to around the horizon. This will give the sky a pinkish tint.
Step 5:
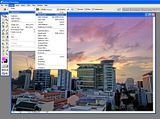
Click image>adjustments>auto levels
Step 6:
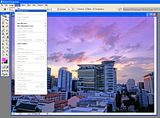
go to layers>duplicate layers
Step 7:

Select the burn tool, ensure the shadows tab is selected.
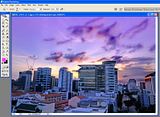
Darken the darker parts of the clouds. This is to creat a more dramatic cloud formation.
Step 8:
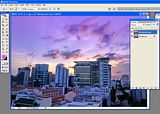
Adjust the opacity of the duplicated layer to blend the burnt parts.
Press control E or Layers> flatten image. Save your work. This will be your final image.

No comments:
Post a Comment