
Have you come across a sitation where your forground is severly underexposed due to the disparity in the lighting the particular scene? This post will help you to clear that up with a little bit of photoshop.
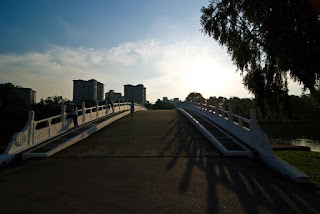
Taking this particular scene, the foreground is underexposed while the background, i.e the sky is correctly exposed.
We start off by going to layers => duplicate layer
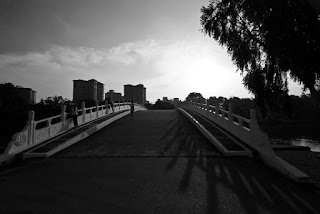
after which, we go to image => desaturate and we get something like this
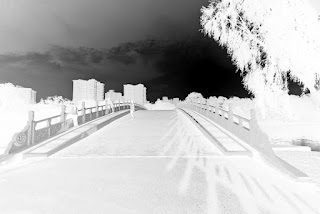
we go to image => invert and we get something like this
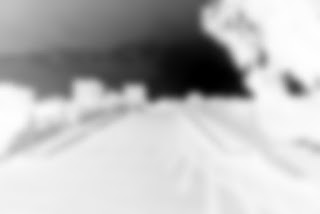
After which, go to filter=> blur=> gaussian blur and input the amount of radius you want. You might want to trial and error, but for this case, I am going to use a radius of 10.
Finally, go to your layers pallatte. Under the word “Layers” in the layers palette will be a menu box of blending modes. Change the blending mode from “normal” to “overlay”. Press cntrl E to merge your layers and you get this.
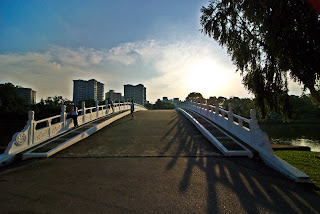
Credits to Ivanified for sharing with me his discovery.

No comments:
Post a Comment