Wednesday, May 27, 2009
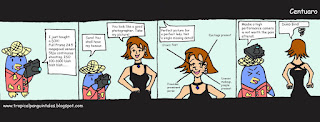
TPT 17: Photographer's Nightmare
Dedicated to Ivanified. Changed your idea a little, but the essense is still there. Thanks for the idea!
Tropical Penguin on Post Processing Part 2 : Orton Imagery on Photoshop
Here's another tutorial on a post processing process known as orton imagery.
Taken from naturephotographers
Here is the step-by-step recipe for making Orton images in Photoshop:
- Open any image you wish to try the technique on. Make a duplicate of the image (Image>Duplicate). Close the original image.
- Lighten the image as follows: Image>Apply Image… then in the dialog box that comes up change the bending mode to “Screen” and the Opacity to 100%. This will give you an appropriately overexposed image.
- Duplicate this overexposed image (Image>Duplicate).
- Blur this second image (Filter>Blur>Gaussian Blur… and in the dialog box use a Radius setting of 15 to 50 pixels – the higher the pixel setting the blurrier the photo and the more ‘painterly’ the image… but you can go too far!). Experiment with different settings, for my tastes and for the size of my digital files (50-100 megabytes) a radius of about 25 pixels works perfect.
- Now select the move tool from the Photoshop tool bar (or just press “v” on your keyboard for quicker access to the move tool). Hold down the “shift” key and use your mouse to drag and drop the blurry image onto the sharp one (don’t let go of the shift key until after you release the mouse button or the images won’t be in perfect alignment).
- Bring up the layers palette in Photoshop (F7 is the keyboard shortcut). Under the word “Layers” in the layers palette will be a menu box of blending modes. Change the blending mode from “normal” to “multiply”.
- Now “flatten’ the two layers by pressing “CTRL+E” or by clicking on the sideways triangle in the layers palette to select ‘flatten image’.
There, you now have an Orton image - if you like your new masterpiece save the file!
Before / After
Tropical Penguin on Post Processing Part 1 : Dynamic Range on Photoshop
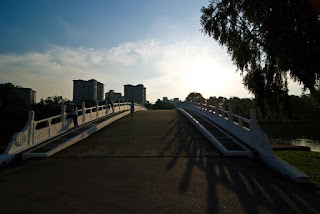
Have you come across a sitation where your forground is severly underexposed due to the disparity in the lighting the particular scene? This post will help you to clear that up with a little bit of photoshop.
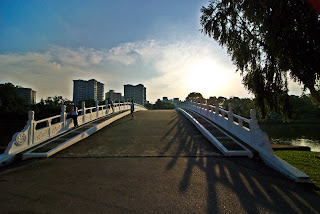
Taking this particular scene, the foreground is underexposed while the background, i.e the sky is correctly exposed.
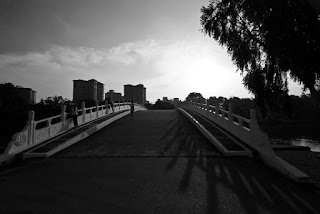
We start off by going to layers => duplicate layer
after which, we go to image => desaturate and we get something like this
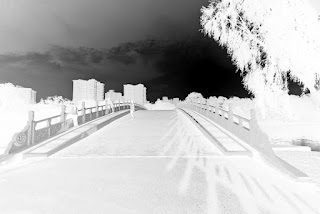
we go to image => invert and we get something like this
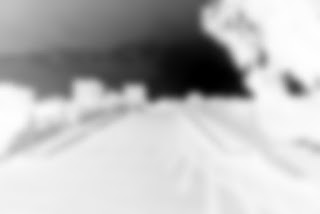
After which, go to filter=> blur=> gaussian blur and input the amount of radius you want. You might want to trial and error, but for this case, I am going to use a radius of 10.
Finally, go to your layers pallatte. Under the word “Layers” in the layers palette will be a menu box of blending modes. Change the blending mode from “normal” to “overlay”. Press cntrl E to merge your layers and you get this.
Credits to Ivanified for sharing with me his discovery.
Monday, May 25, 2009
Friday, May 22, 2009
Thursday, May 21, 2009
Wednesday, May 20, 2009
Monday, May 18, 2009
Saturday, May 16, 2009
Tropical Penguin Goes Alexandra Hospital
Friday, May 15, 2009
Penguin Goes KTV with friends
Thursday, May 14, 2009
Wednesday, May 13, 2009
Penguin Goes Bowling
Saturday, May 9, 2009
Tropical Penguin Goes on Nature Trail
Thursday, May 7, 2009
Wednesday, May 6, 2009
Tropical Penguin has an announcement
Sunday, May 3, 2009
Tropical Penguin Goes Macro Crazy
Subscribe to:
Posts (Atom)